![]()
Acumen User Guides
Table of Contents
Life Cycle Guide
Once the Acumen Smart Document Solution software is installed and you re-open Microsoft Word, the “Acumen” tab will appear in the top ribbon of the Word application. This is an access point to activate all of the Acumen Smart Document Solution features and the activation of this is detailed in the Getting Started Section of the documentation.
Once the appropriate credentials are entered, new tabs will be visible in the ribbon based on the features in your subscription. If you do not see the Lifecycle section on the top ribbon, please log out and log back in (using the supplied credentials).

Setup
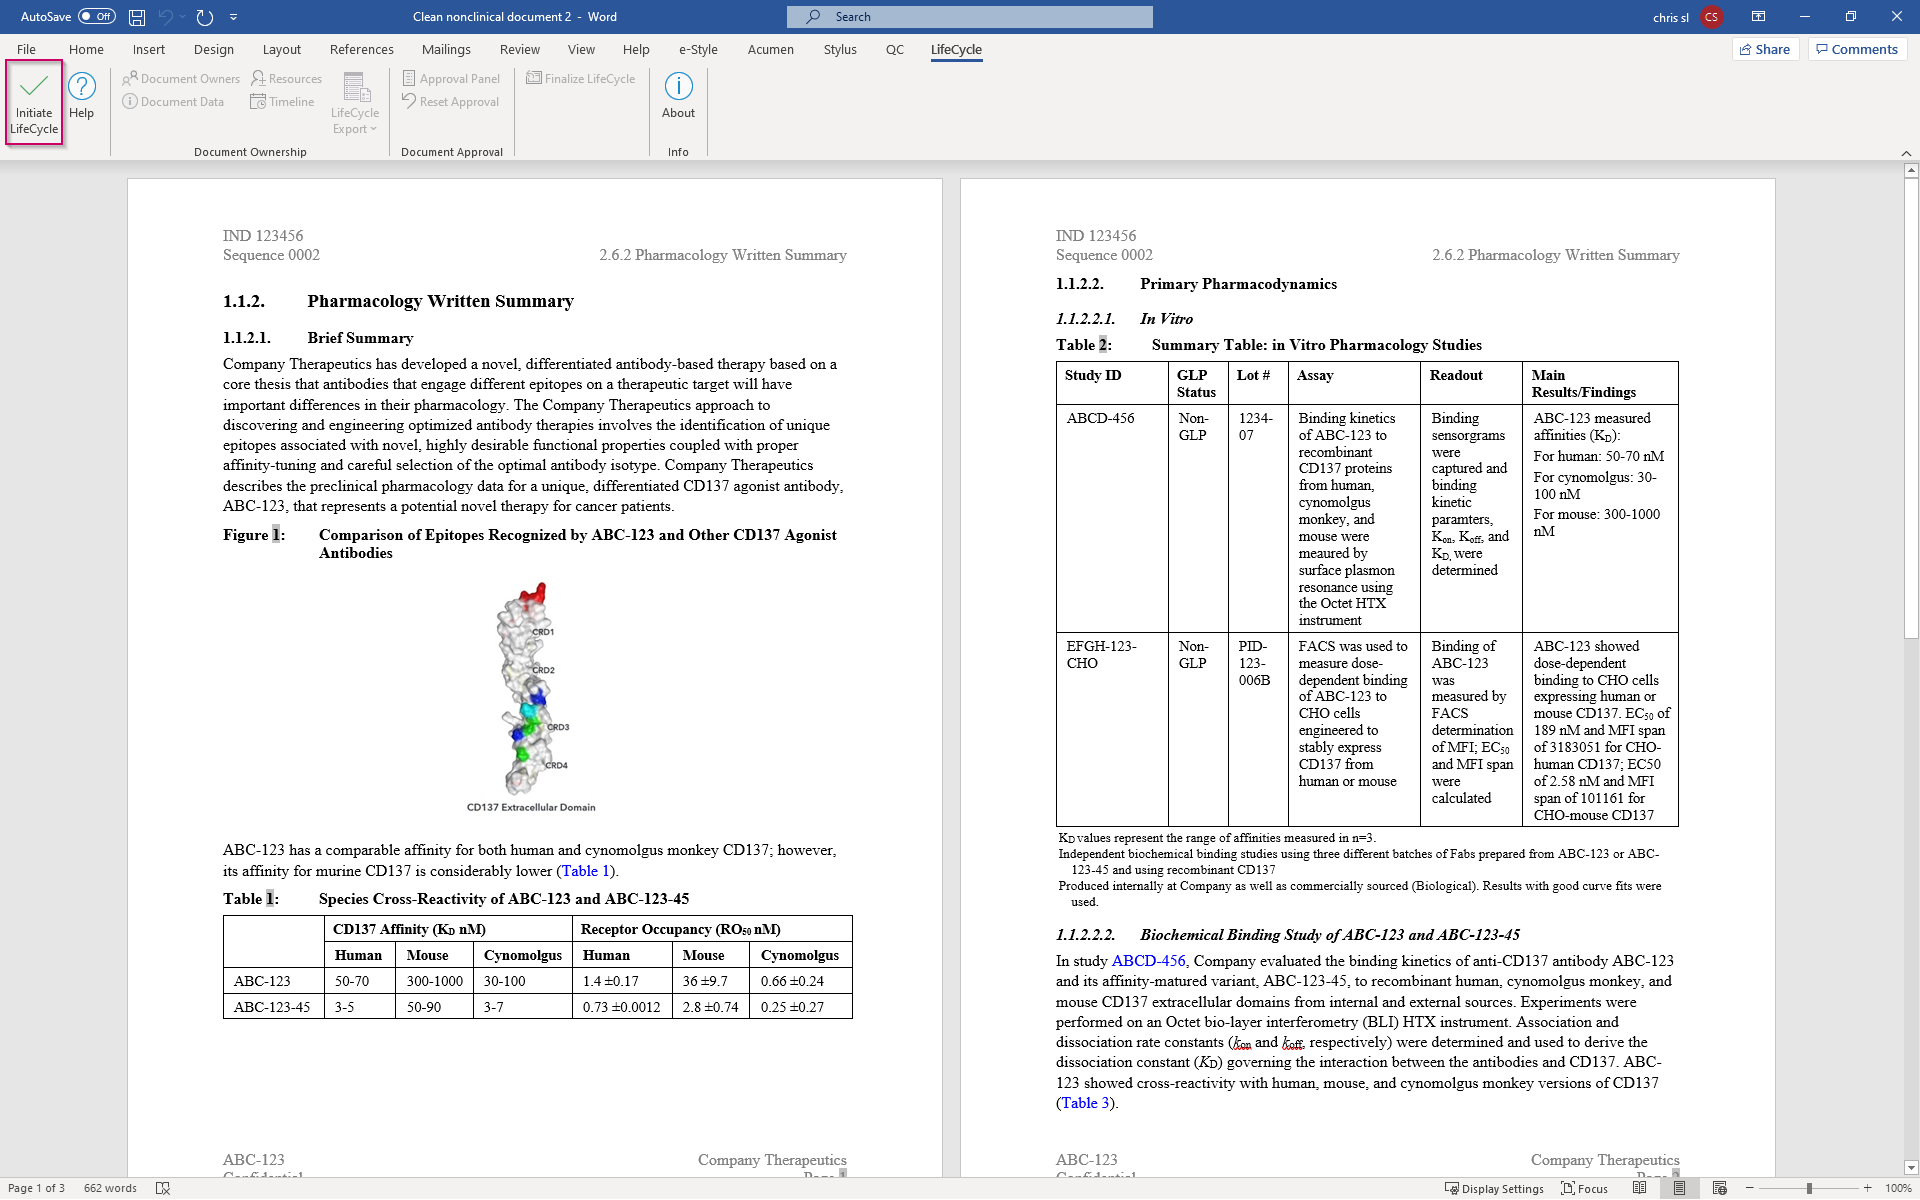
When initially starting lifecycle you will first need to setup the document to use lifecycle. To do this go to the lifecycle tab and click on the Initiate Lifecycle button on the left side of the tool bar.
You will be greeted by the following windows when clicked, for the name you can place anything down although we highly recommend you use your first name and for the password put in an associated email address like shown below.
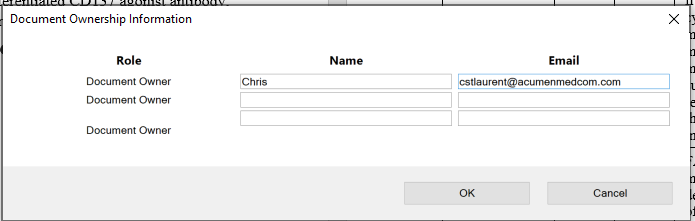
NOTE: If you plan on having multiple document owners you can also add them to the documentation at that time as well following the instructions above
Once you have the name and emails of those you’d like to give ownership to click Ok and you’ll then be ask to give a company name, program (if applicable) and Document name.
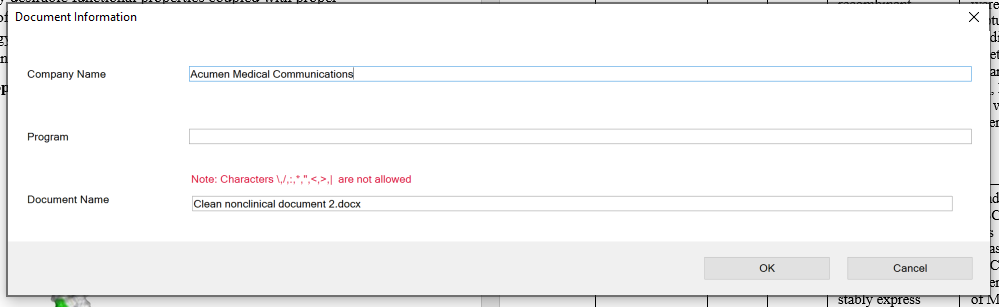
NOTE: The document name field does NOT need to match the document’s save name
Once you have at least the company name and document name entered and ready to go click Ok once more and now lifecycle’s features should all be made available ready for use. If you or any other users you add to the documentation later wish to access the lifecycle tool again you will need to click on the Authorize in LifeCycle button again and put in your Name and Password (Email) that you put in earlier.
Navigating the Lifecycle Tab
LifeCycle has quite a few handy tools that can be used to keep track of your documentation’s progress as well as who is responsible for what sections of the documentation. Below is a list of tools LifeCycle has to offer!
Document Owners & Document Data
The Document Owners and Document Data tools open up windows that allow you to edit the information that you inputted into the LifeCycle Tool when you first authorized. This includes changing document owner information, company name, document name and program name respectively.
Resources
The Resources tool is where you are able to add users outside of document owners to the LifeCycle tool. To add a user click on the Add button on the bottom of the Resources window and then fill in the user name and email (similarly to the document owners best practice).
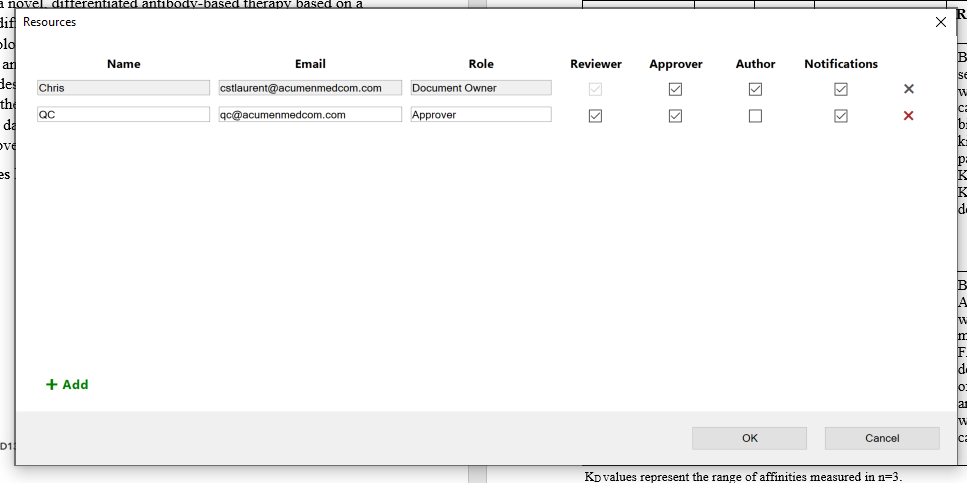
Once you have all of that set up you can give them a custom role and then enable certain features for the user. The resources you are able to give are as follows:
Reviewer: Allows user to edit LifeCycle Settings.
Approver: Allows user to access the approval panel in the LifeCycle tool.
Author: Allows user to edit the documentation.
Notifications: Allows user to receive notifications from the LifeCycle tool. When initially setup the user will be sent an email asking for them to grant permission for outlook events to added to their calendar.
If you need to remove a user from the resource list you can do so by clicking the X icon next to each resource. Once you have everything good to go click on the Ok button on the bottom right to save your configuration.
Timeline
The Timeline tool is where you are able to add tasks to help keep track of progress and what needs to be done in the documentation.
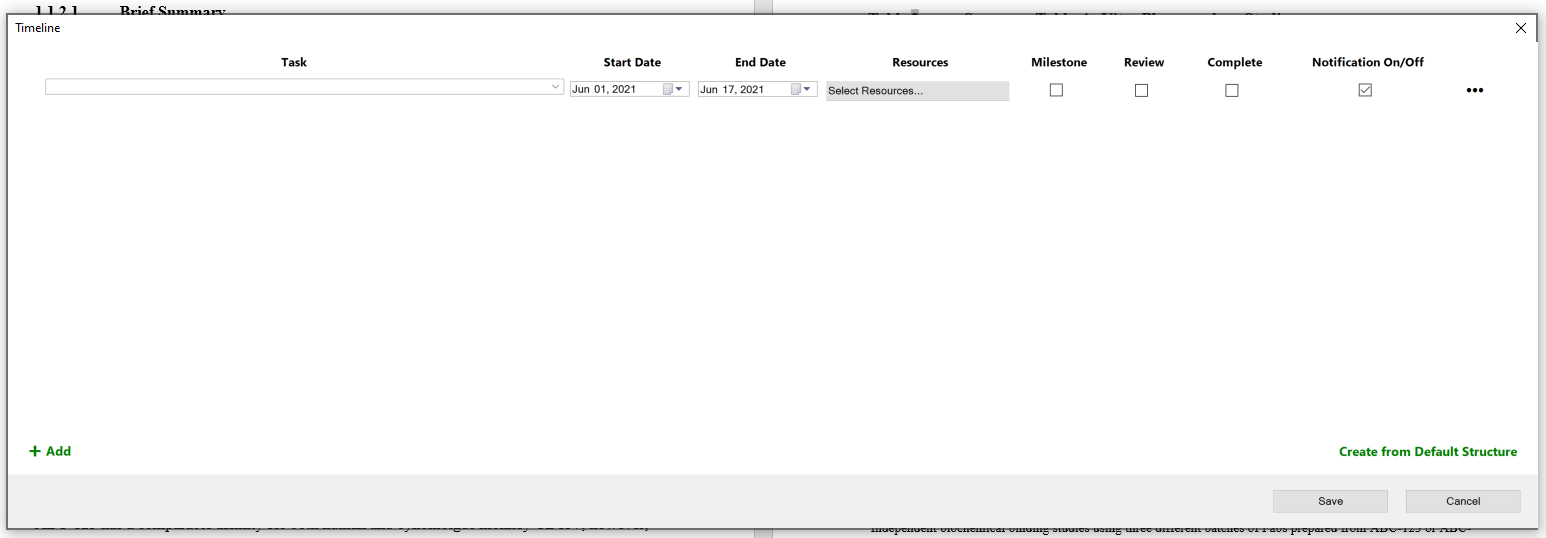
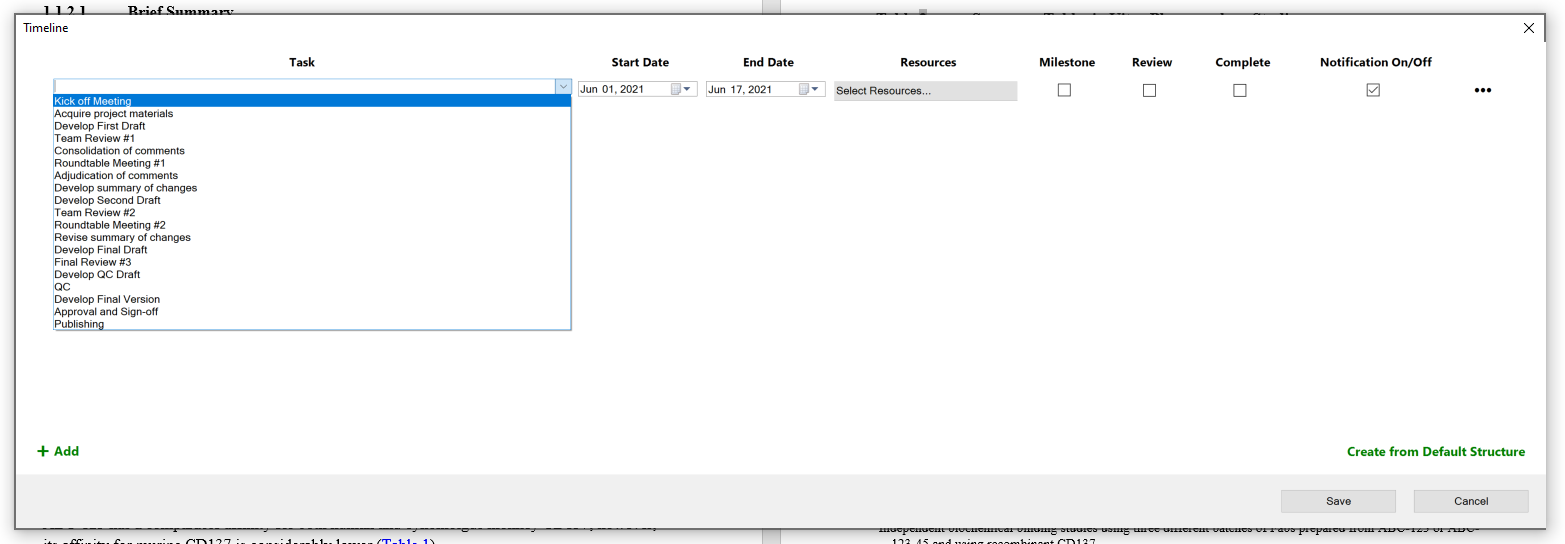
Starting from the left of any individual task you will first find a drop down menu from which you’ll need to select a task from. These tasks range anywhere from Kick Off Meeting to Publishing.
Once you have a task that you want to use you will next need to add the start and end date of when this task will be complete.
NOTE: You can’t start a task on the same day that you are on!
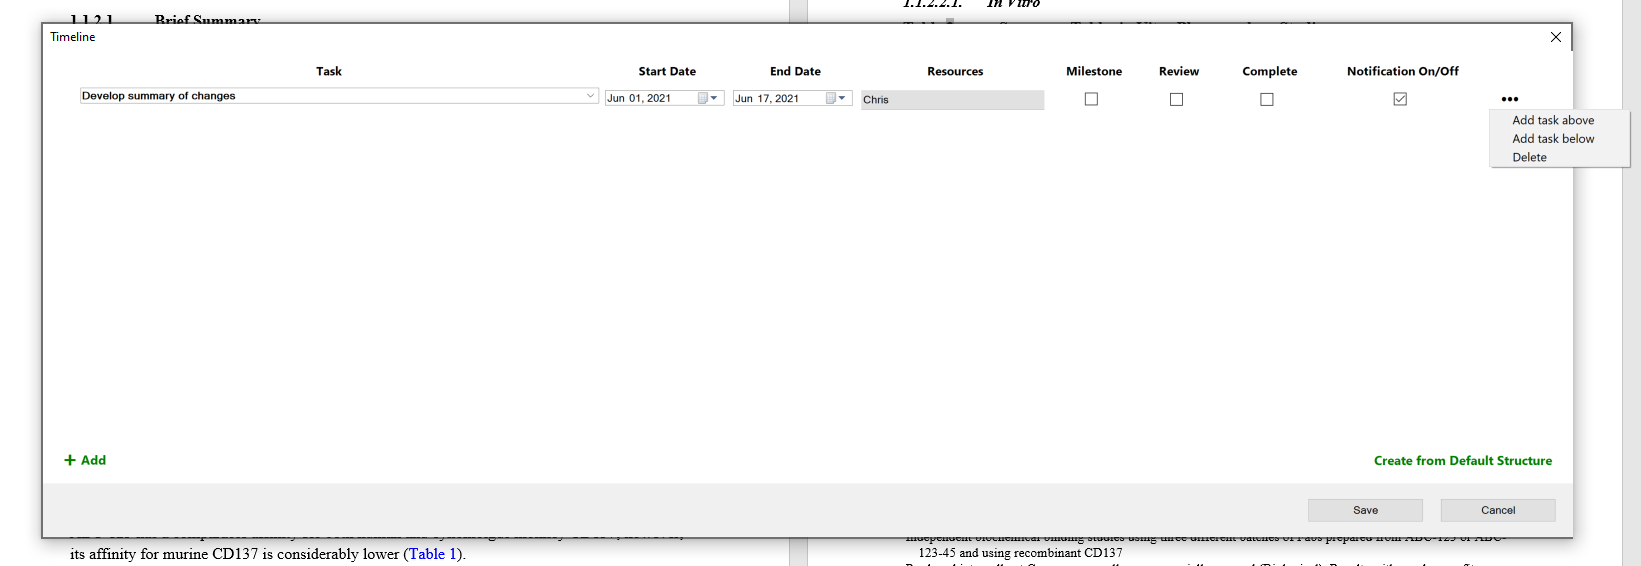
Following the start and end date you have the Resources section which will contain a list of users from the Document’s Resource Tool which you can assign the task to. Once you have your resources selected you can enable the following options:
Milestone: Makes it so that this task will appear on a audit trail (tasks with this not enabled will not).
Review: Allows resources to review this task.
Complete: Used to mark if this task is complete or not.
Notification On/Off: Turns off notifications being generated from this task.
Finally if you’d like to add another task to your list of tasks you can either click the Add button on the bottom left to add a task to the bottom of your current list of tasks or you can click on the Ellipsis next to any task and click either the Add task above or Add task below buttons.
Approval Panel
The Approval Panel is where users who have been made Approvers under the Resource tool can mark a document as Approved and ready to be finalized. Approvers are also able to add Comments by clicking on the Text Box Icon underneath their name. Once you have a comment made out simply click the Save button to save it.
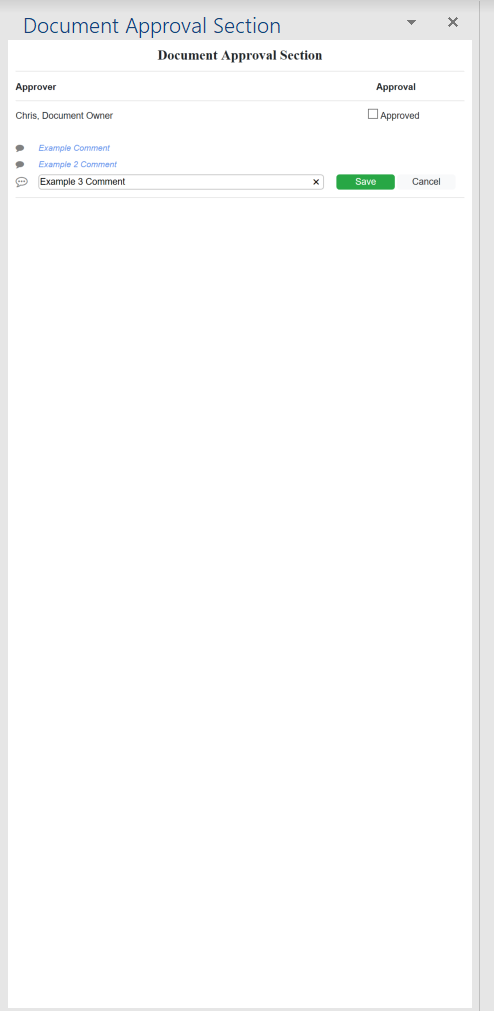
NOTE: If the panel text is too small you can increase the text size of it by mousing over the panel and the scrolling in while holding down the CTRL key on your keyboard.
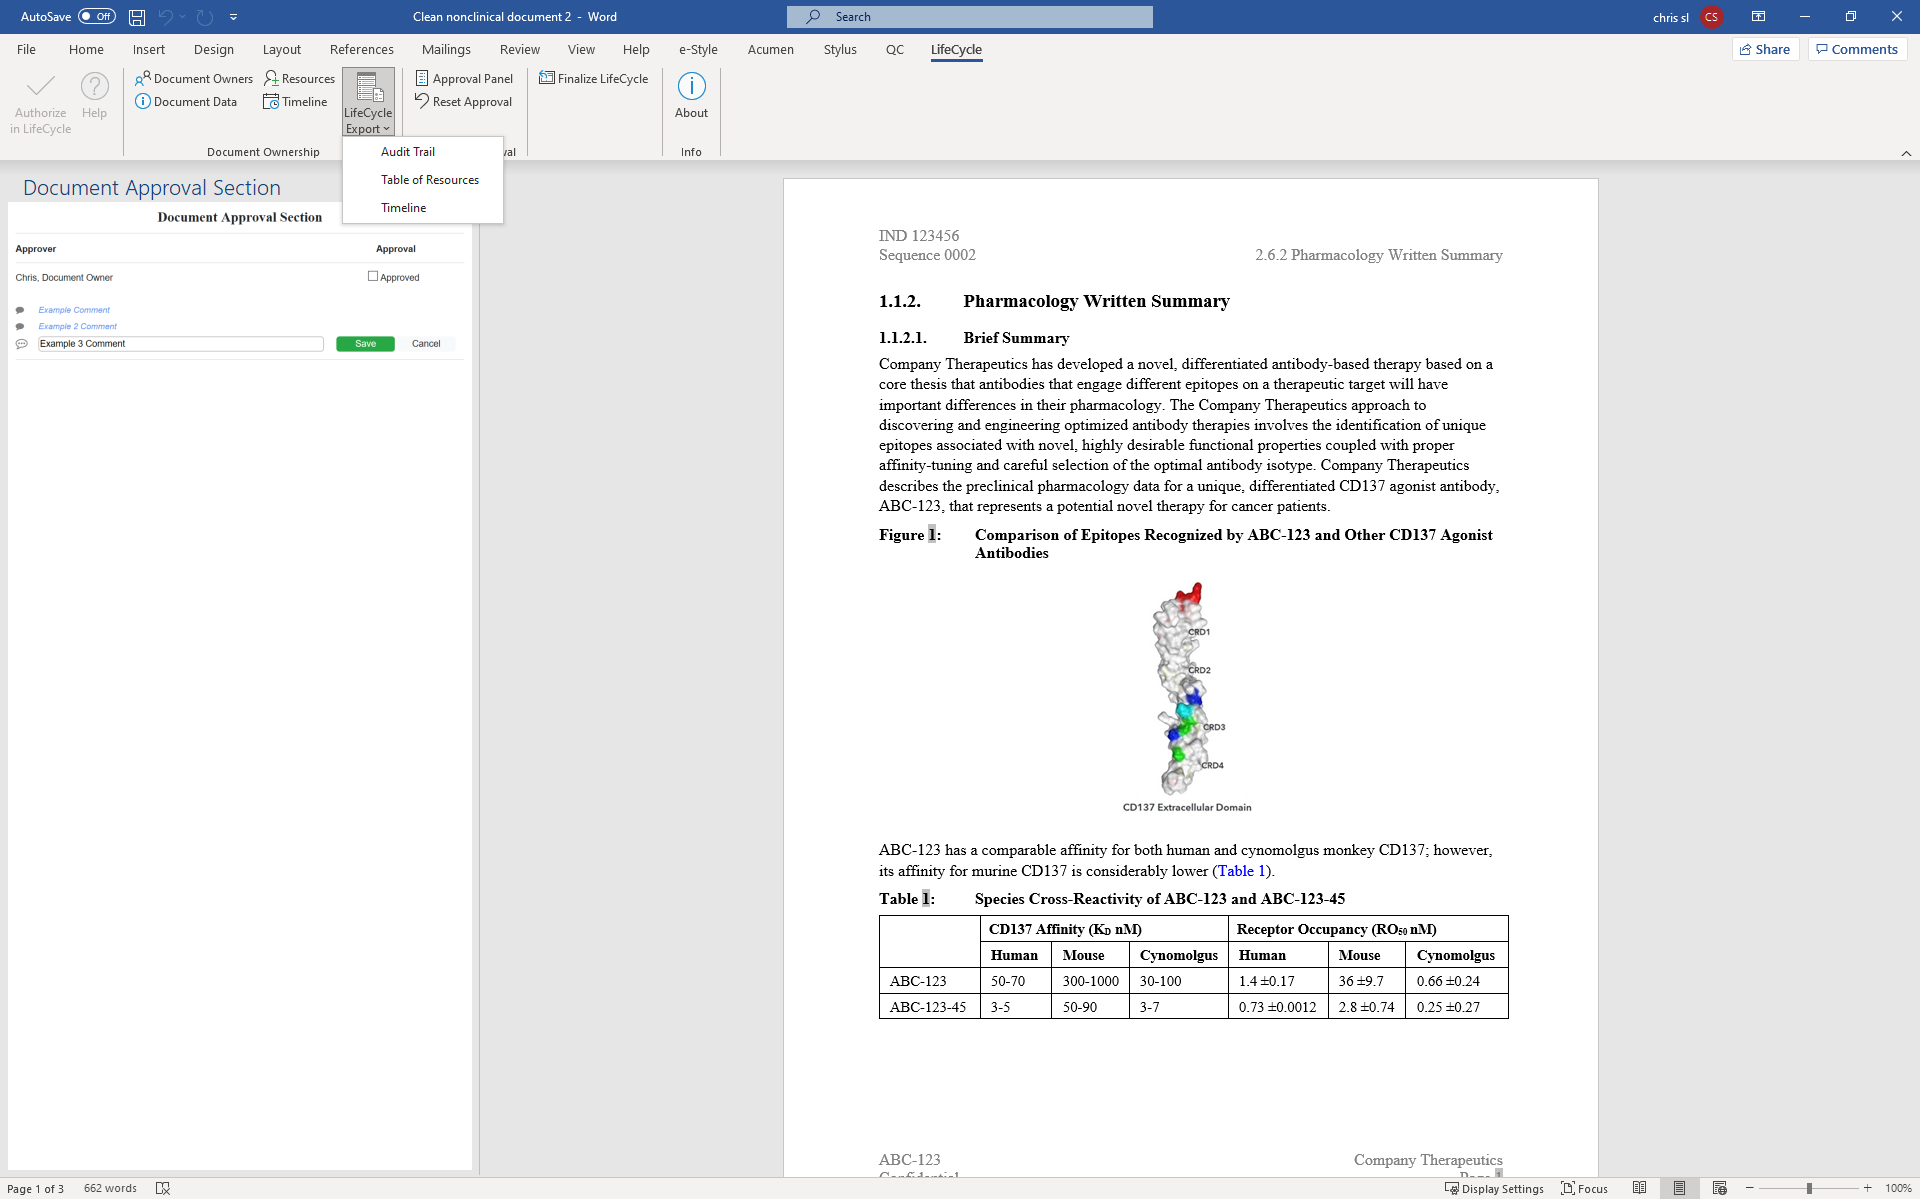
LifeCycle Export
You are able to export certain data collected by the LifeCycle tool by clicking on the LifeCycle Export tool. When clicked you will be asked to either generate a Timeline, Table of Resources or a Audit Trail.
NOTE: All documents generated by the export tool will come out as PDF Files.
Timeline: This will print out a table containing all of the tasks currently found on the LifeCycle tool with information such as the Task Name, Assigned Resources and Date started and finished included.
Table of Resources: This PDF Doc will contain all resource information found on the LifeCycle tool such as Name, Email, Role and permissions.
Audit Trail: This PDF Doc will contain a audit trail which can be used to keep track of all the changes and tasks done on your LifeCycle tool. This includes a Approval Panel History with Date, Approver, and changes (Such as if marked approved or if a comment is made). You also will have the data the LifeCycle Tool was initiated, total days since initiation (days in development), tasks and whether they were completed along side when they were planned for and the date the audit log as generated.
Finalize LifeCycle
When you are all finished with your document you can finish it by clicking the Finalize LifeCycle tool which will generate a “Clean” version of your document with all of the LifeCycle Data removed.