![]()
Acumen User Guides
Checklists Guide
Once the Acumen Smart Document Solution software is installed and you re-open Microsoft Word, the “Acumen” tab will appear in the top ribbon of the Word application.
This is an access point to activate all of the Acumen Smart Document Solution features and the activation of this is detailed in the Getting Started Section of the User Guide. Once the appropriate credentials are entered, new tabs will be visible in the ribbon based on the features in your subscription.

Activation
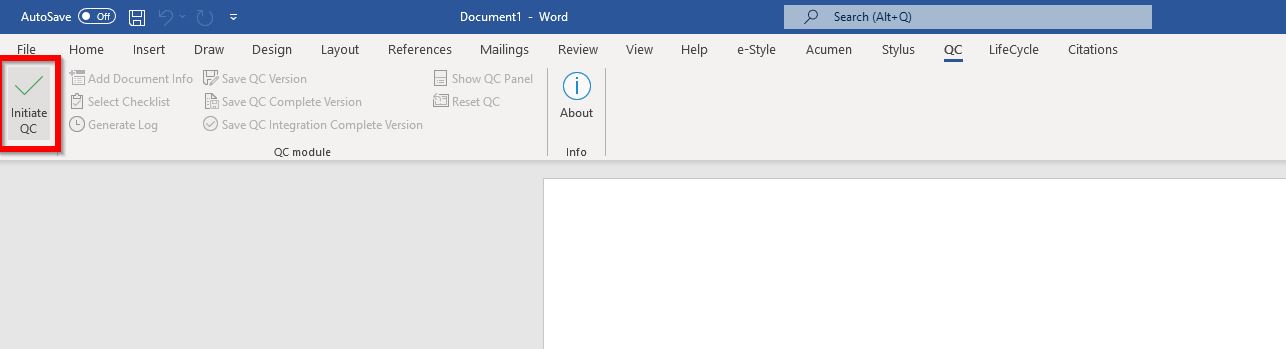
Use of the features found in the Checklists tab is simple. The default setting for this tool when first entered is inactive and the icons and functionality are greyed out and unresponsive. To activate the Checklists Module click the Initiate icon.
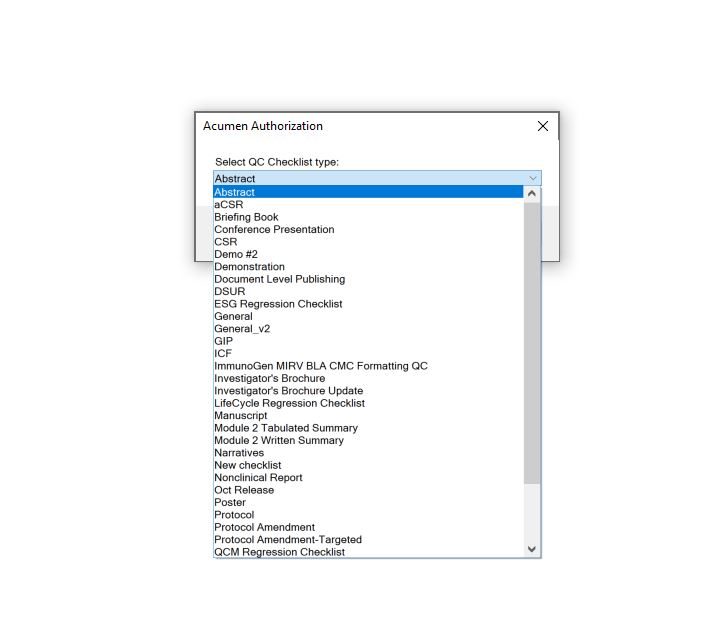
This will initiate a prompt to select from a drop-down list of available Checklists & Catagories. Select the category & checklist most applicable to your project and click OK.
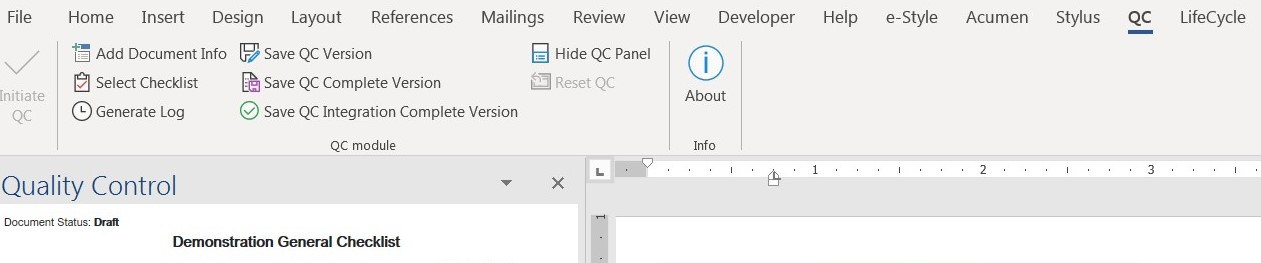
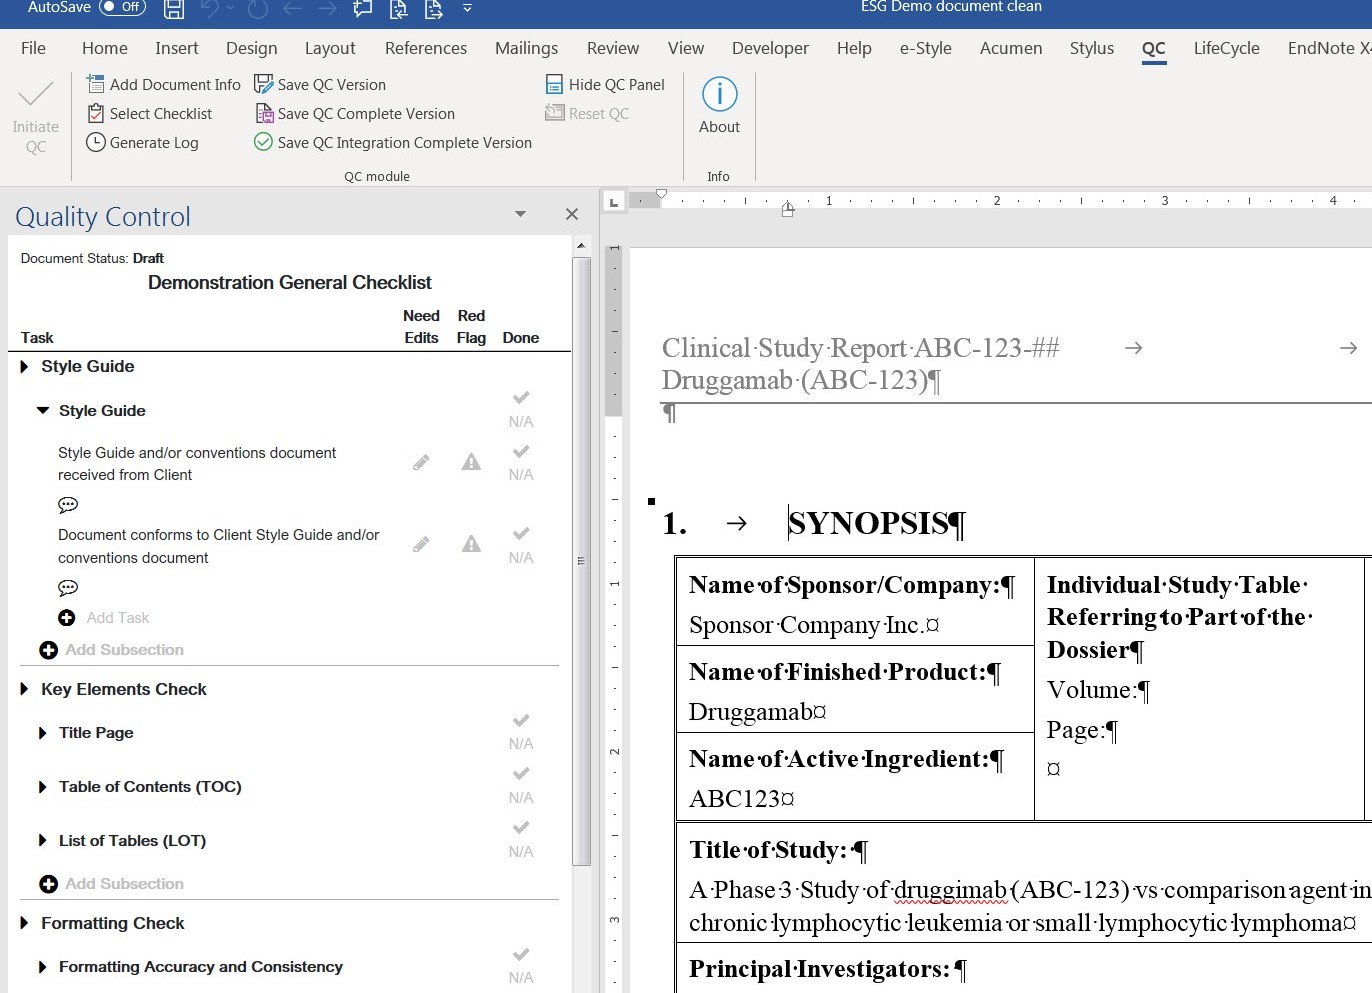
A left-side navigation pane will open with the selected checklist.
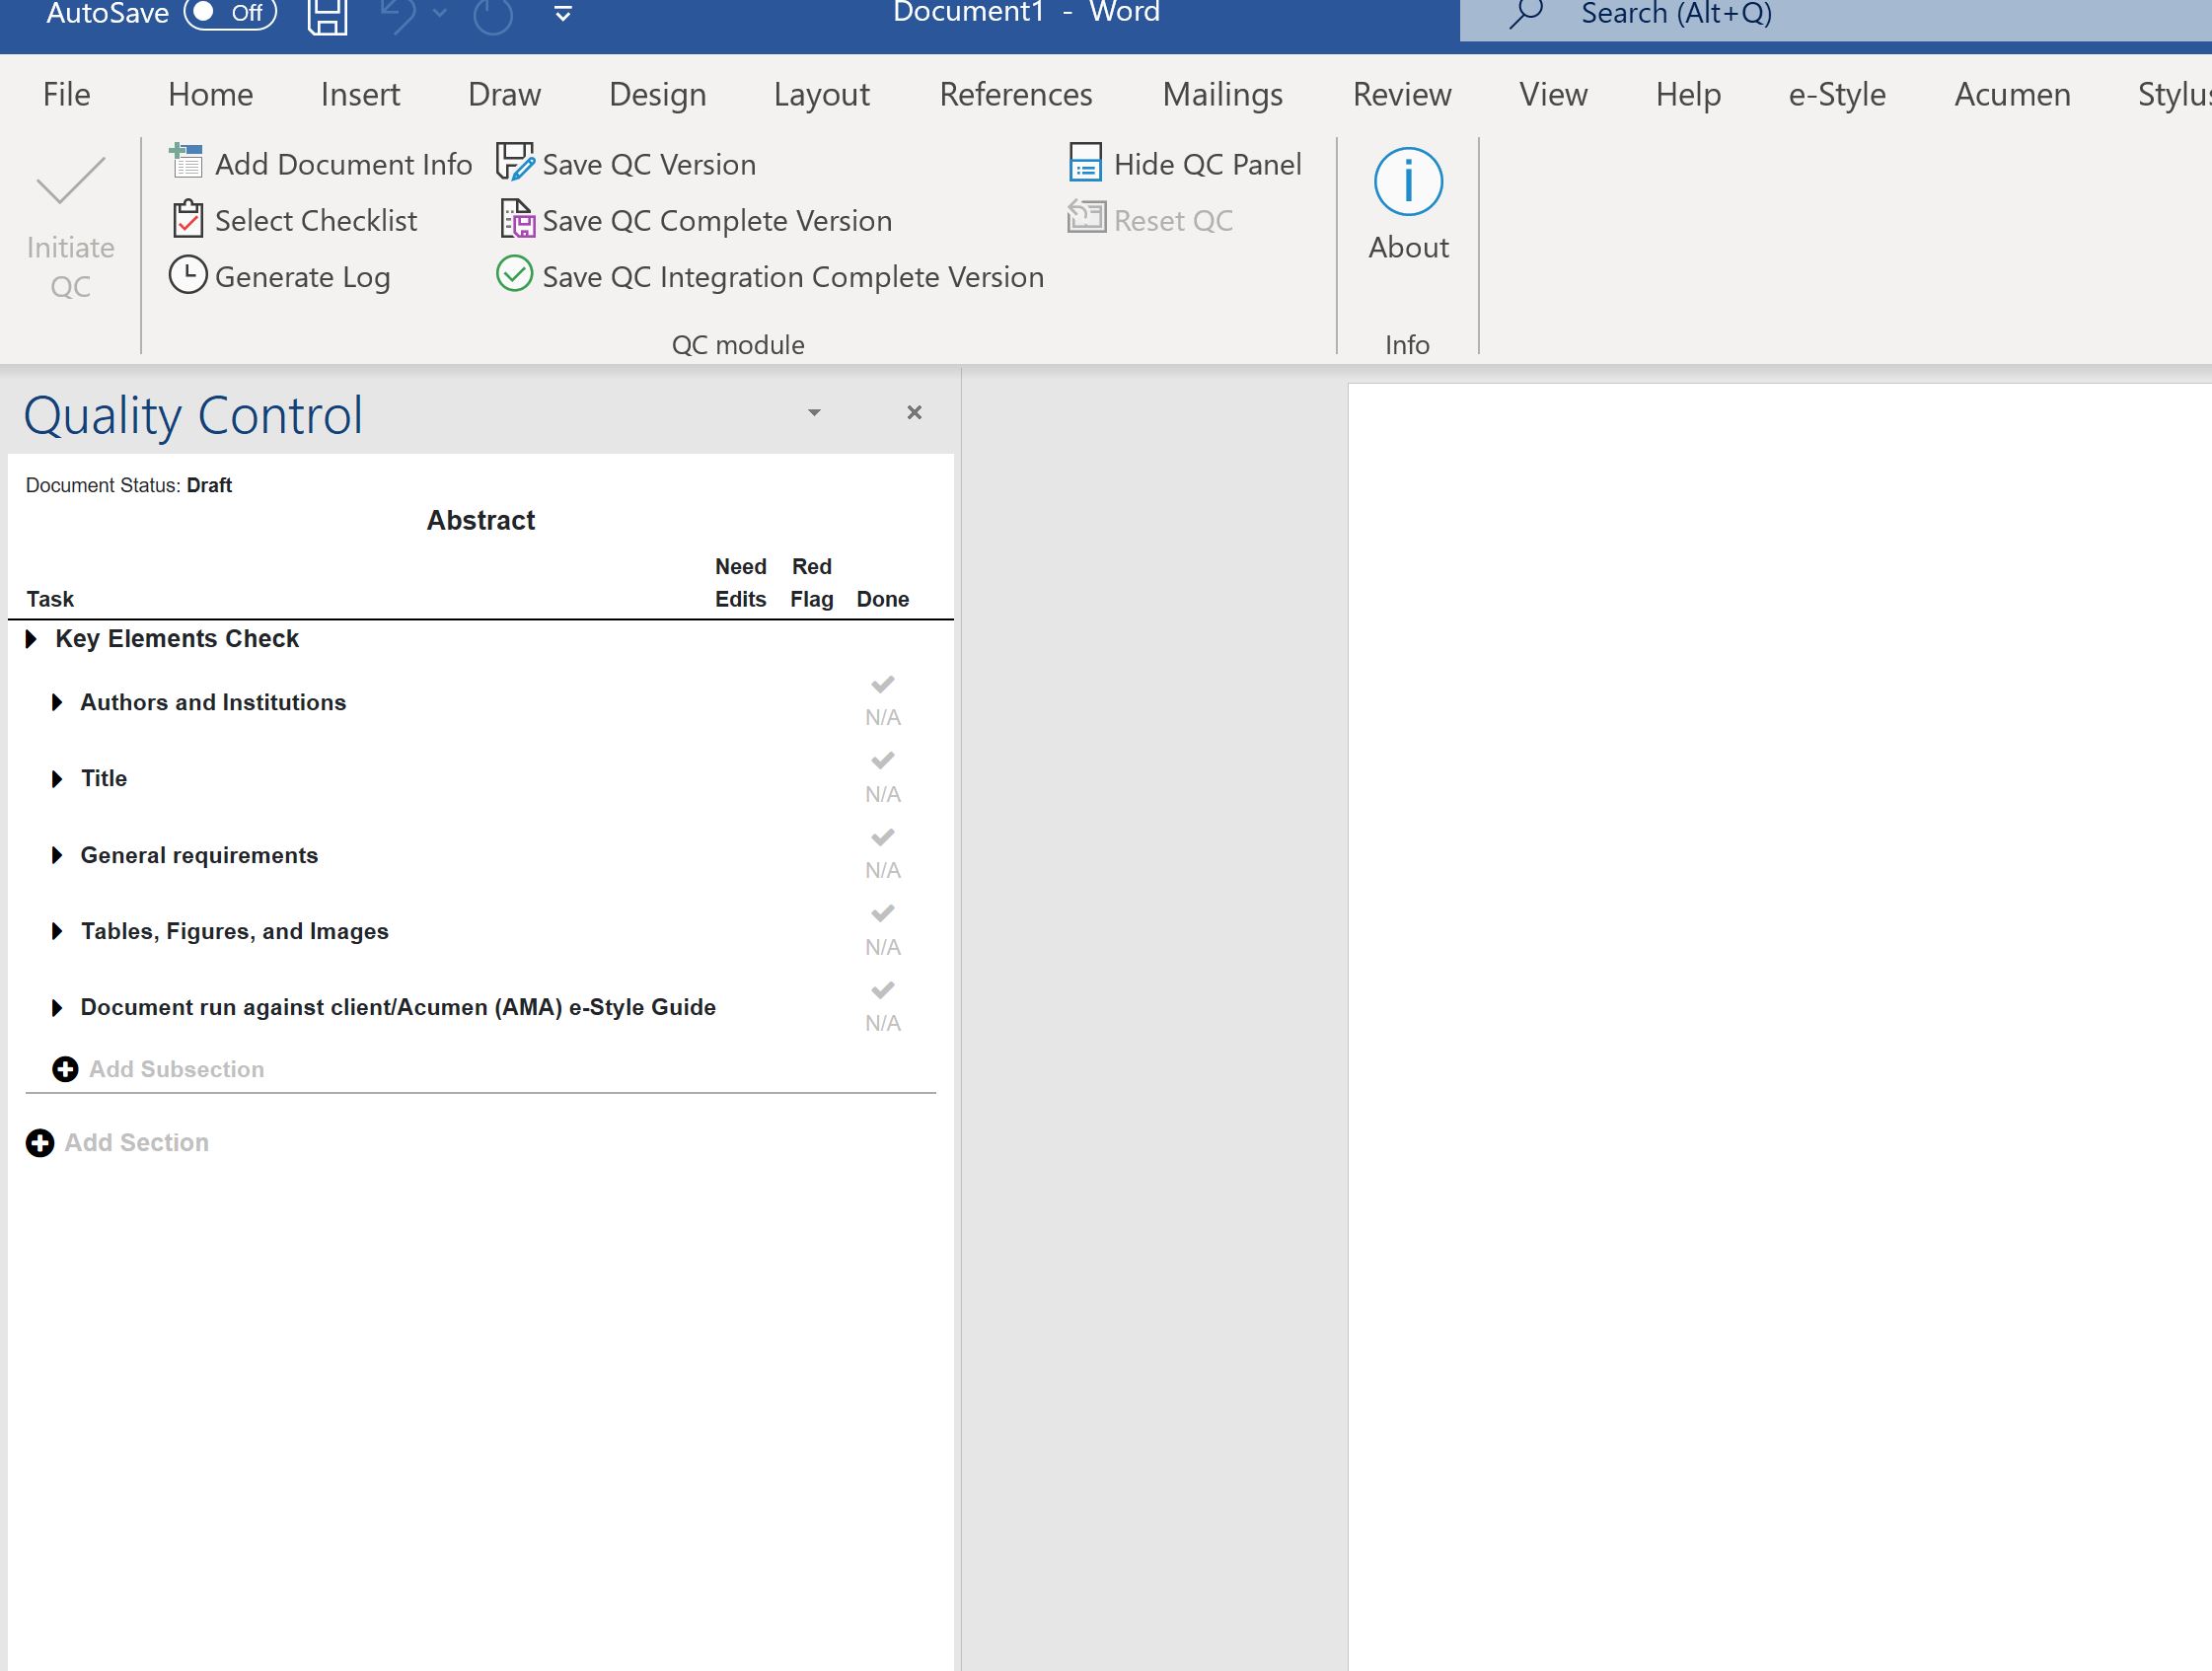
Along with the opening of the Checklist pane on the left portion of the document, the top row icons will now be activated.
Using the Checklist Module
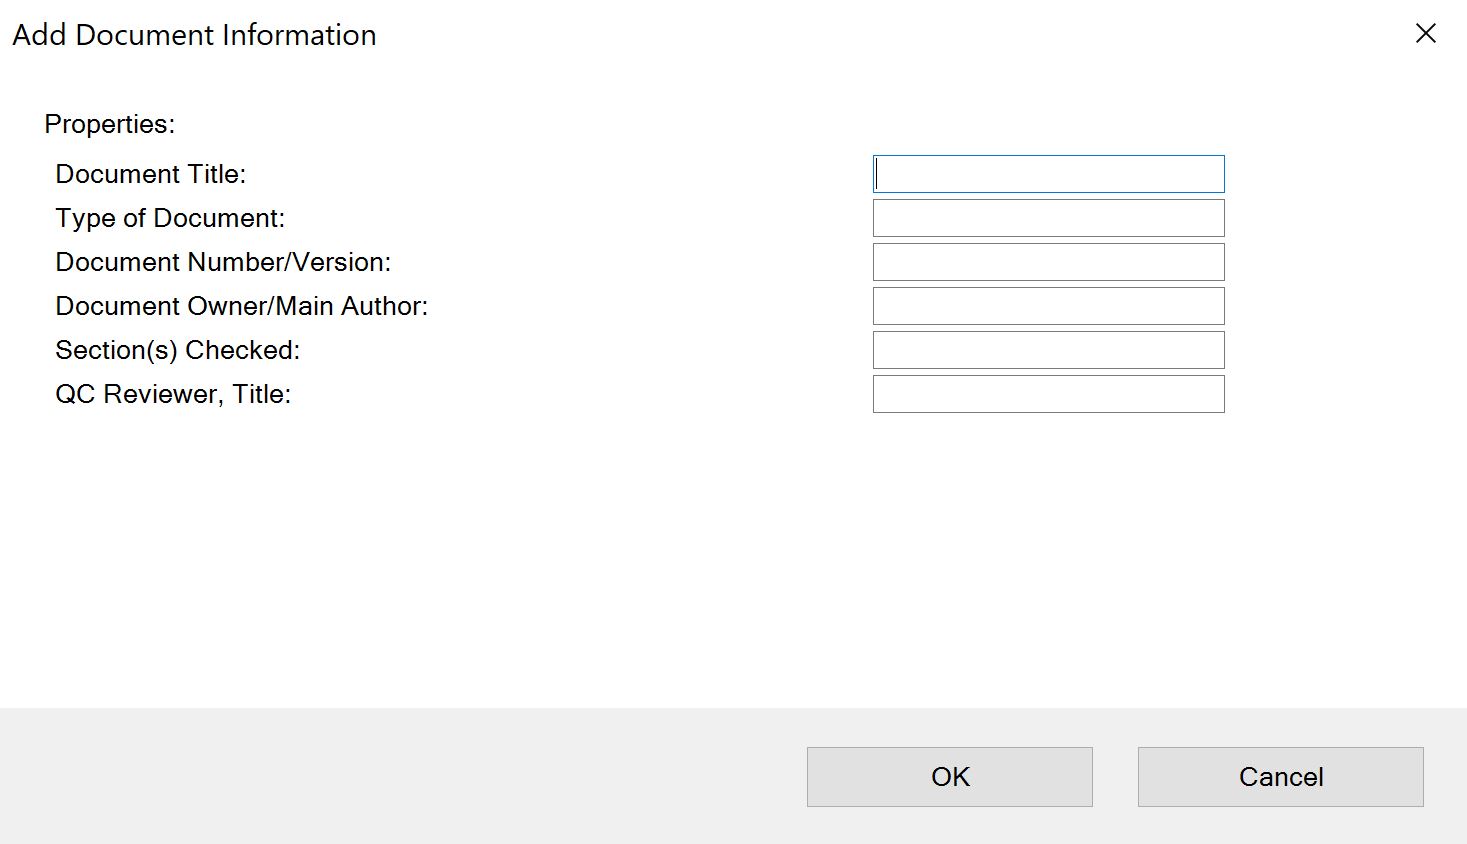
The first step of the workflow is for the document information to be completed. The user clicks on the “Add Document Info” icon and a pop-up window opens to receive the information.

The Checklists reviewer performs their standard review of the document using notations, tracked changes, comments, etc. within the Word document as per usual. The checklist is available as a guide to help organize the review and to ensure that the review is comprehensive.
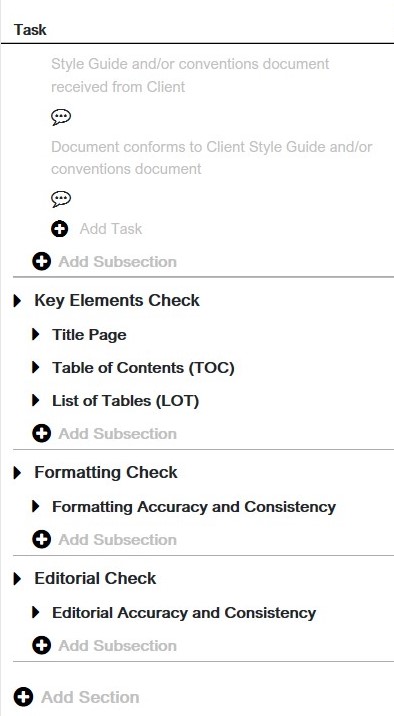
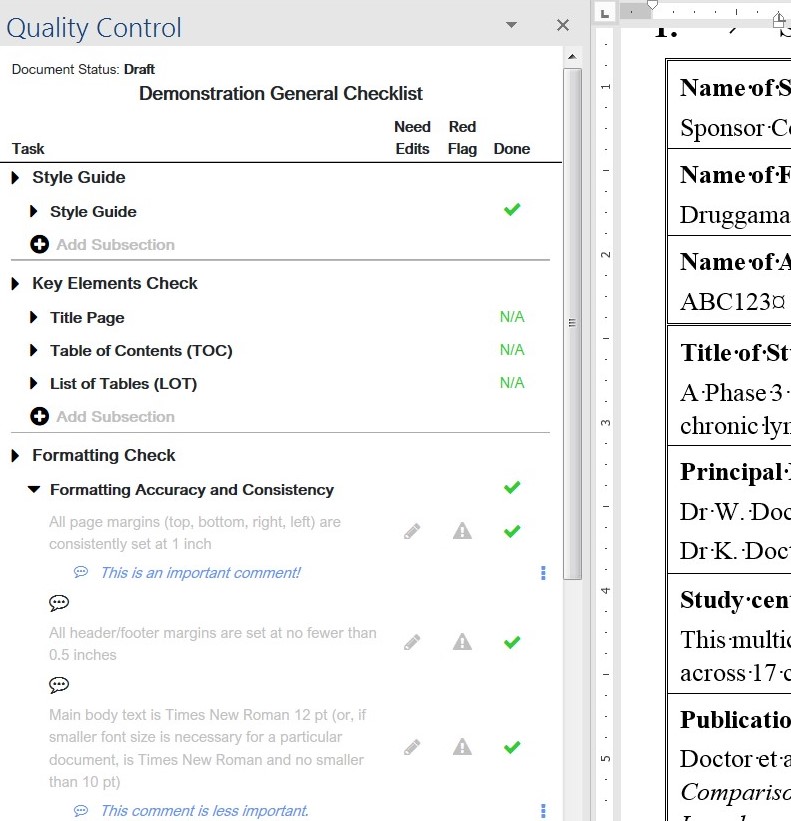
The Checklist reviewer has certain options to complete in the Checklist pane. Each main area of focus has at least 1 subsection with required tasks within that subsection.
These can be expanded and compressed using the black arrow icon next to each section.
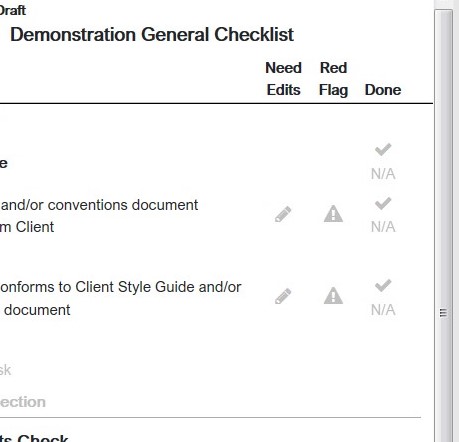
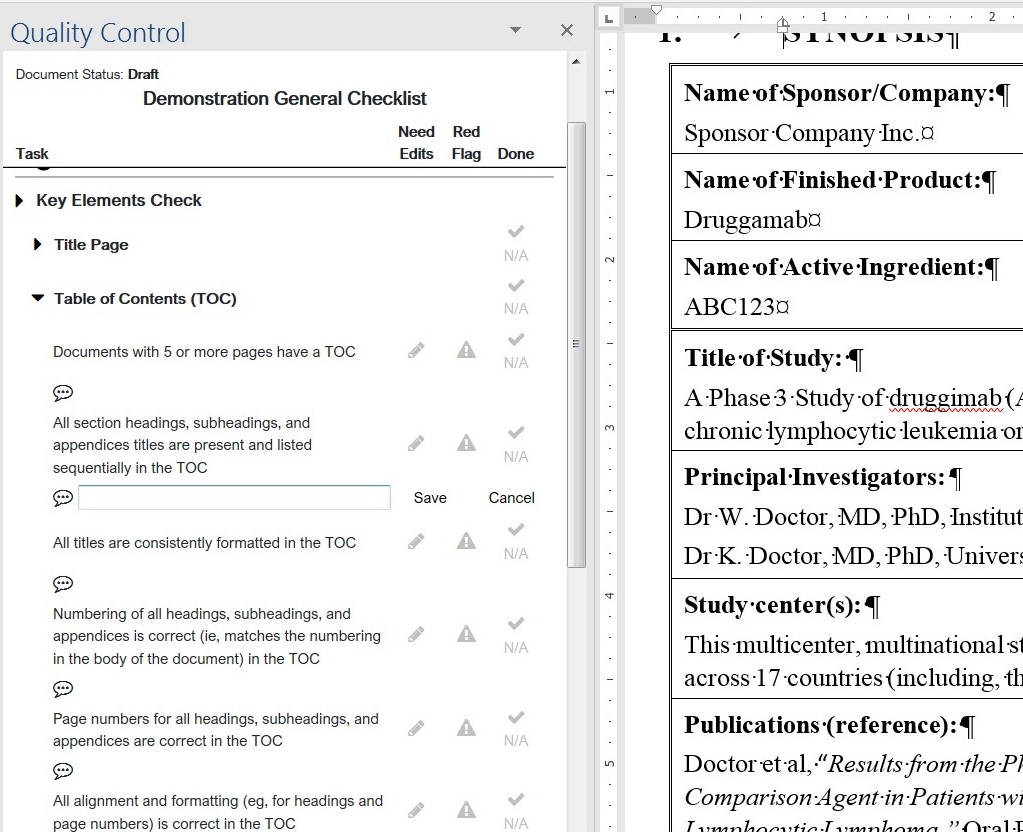
If a particular task required edits to the document during Checklist review, then the reviewer should select the pencil icon in the “Need Edits” column.
This will illuminate when selected and will alert the author to look for changes and also be recorded in the Checklist completion log file. The Checklist reviewer can also select the icon in the “Red Flag” column. if they need to highlight that a major finding was found. Any “Red Flags” must be resolved by the author prior to the completion of the review process.
Each section and each task must be recorded by the Checklist reviewer before they can complete their review. To complete a task or section the must select with the check mark for complete or the “N/A” icon.
The Checklist reviewer has the ability to customize the checklist beyond the core version selected at the beginning of the process. The user can select Add Phase, Add Subsection, or Add Section to include new elements that help their review be as thorough and accurate as possible.
The user is also able to add comments to any task. To do so they click on the comment bubble icon and insert their comment and hit Save. Note: in subsequent versions the adjudicating author can respond to the Checklist reviewer comments with a separate field.
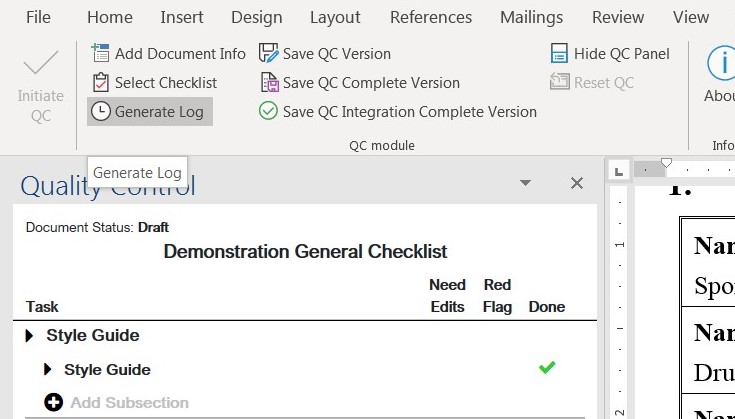
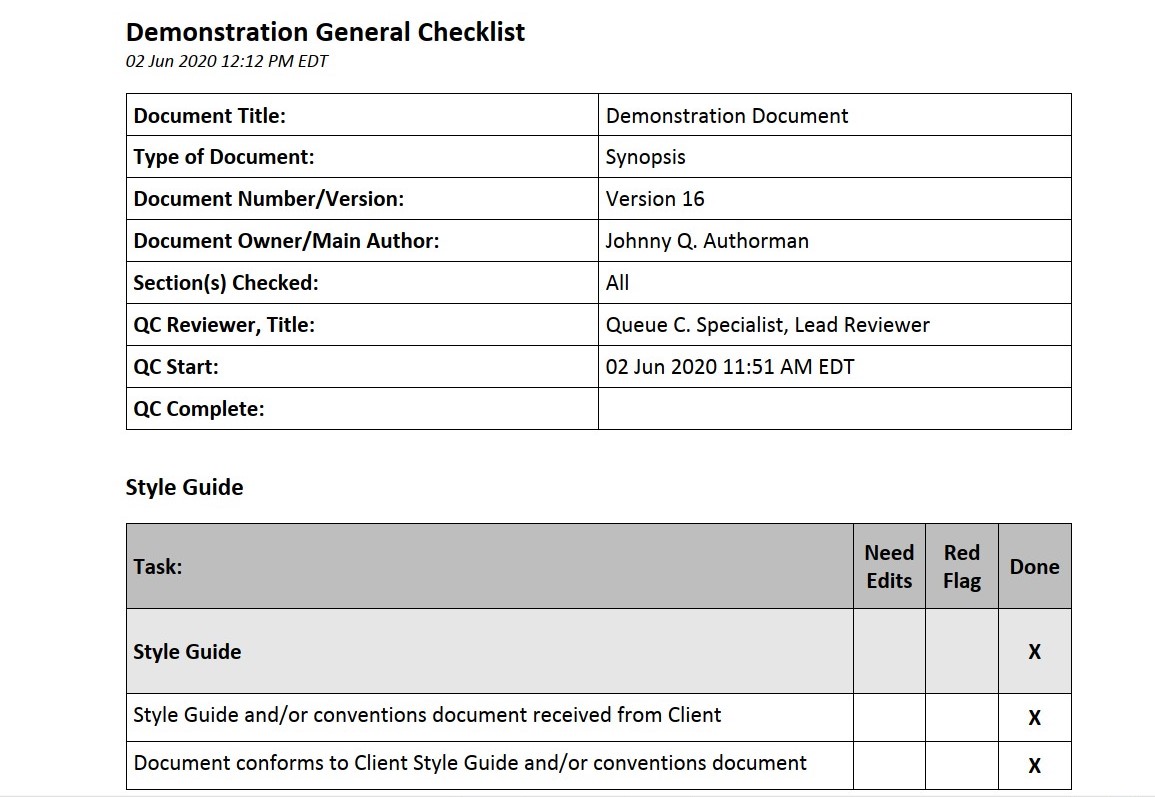
At any point in the process, a user can create an audit trail log of the actions performed and recorded. They need only to click the Generate Log icon, select what phrases they’d like a log generated on and a Save to prompt will be launched and PDF of the log will be generated and available for saving.
The time-stamped output log displays all the selections (edits needed, red flags, done or N/A, comments) made by the Checklist reviewer in the process. Any new sections or subsections added to the master checklist will appear in the log output.
Update Tool
Under the Acumen tab found in the top ribbon is a button called Updates, this button can be used to update your Acumen Tool set to the latest version available without needing to go to the acumen site and receive the latest version. You can see if there is a newer version available as well via the update icon found in the top right.


When clicked it will show you what version you’re on, the latest version and if you are not up to date an update button will be available from which you can click to start the update process.
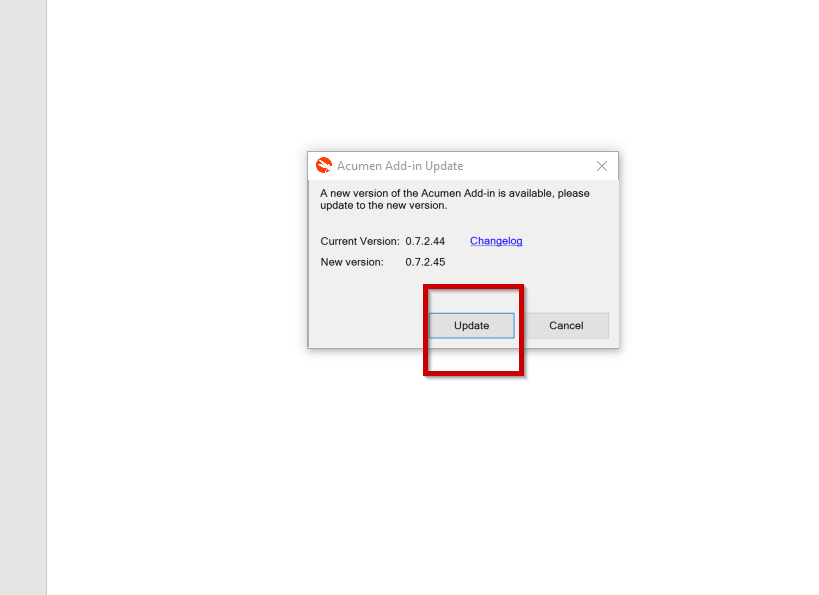
When the button is clicked it will open a installer wizard which you can follow to complete your update. Once done you can click Finish on the bottom of the window and now your tool set should be on the latest version.